


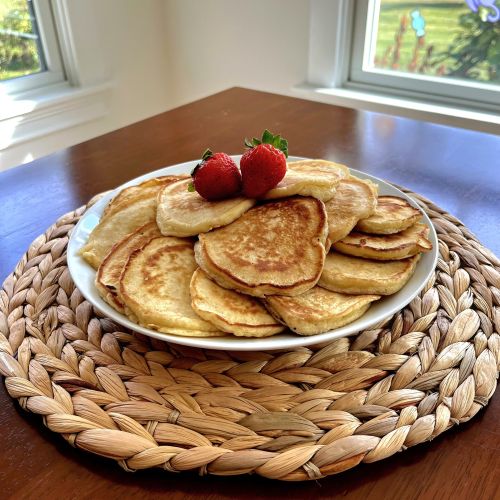

Update February 2026: I’m always trying new things in the kitchen and a few weeks ago I decided to try a small tweak to this recipe and it turned out so good I never want to go back again. So as of today I’m officially updating the recipe to change it from 2 cups of whole milk, to 1 cup of whole milk and 1 cup of buttermilk.
Adding the buttermilk makes these cakes super fluffy and moist! You’ll thank me for this one. Happy Cooking! – Jeff
Fluffy Moist Pancakes Every Time
These are the Pancakes I make for my kids every Sunday morning. When I walk down stairs they bombard me relentlessly! Dad! Are you making pancakes!? After I patiently assure them that, YES! I’m making pancakes just as I do EVERY Sunday Morning 🙂 one of them inevitably pronounces, “Dad, you make the BEST! PANCAKES! EVER! (As If I didn’t know that already!) All kidding aside, I hope you can take this recipe and be a breakfast hero to your kids, grandkids, husband, wife, or whoever you love in your life.

I’m not exactly sure where this recipe came from originally, but I can tell you that I heavily modified it to it’s current form. This is a recipe built over many, many Sunday mornings. Ever evolving until they became Dad’s Best Pancakes Ever!
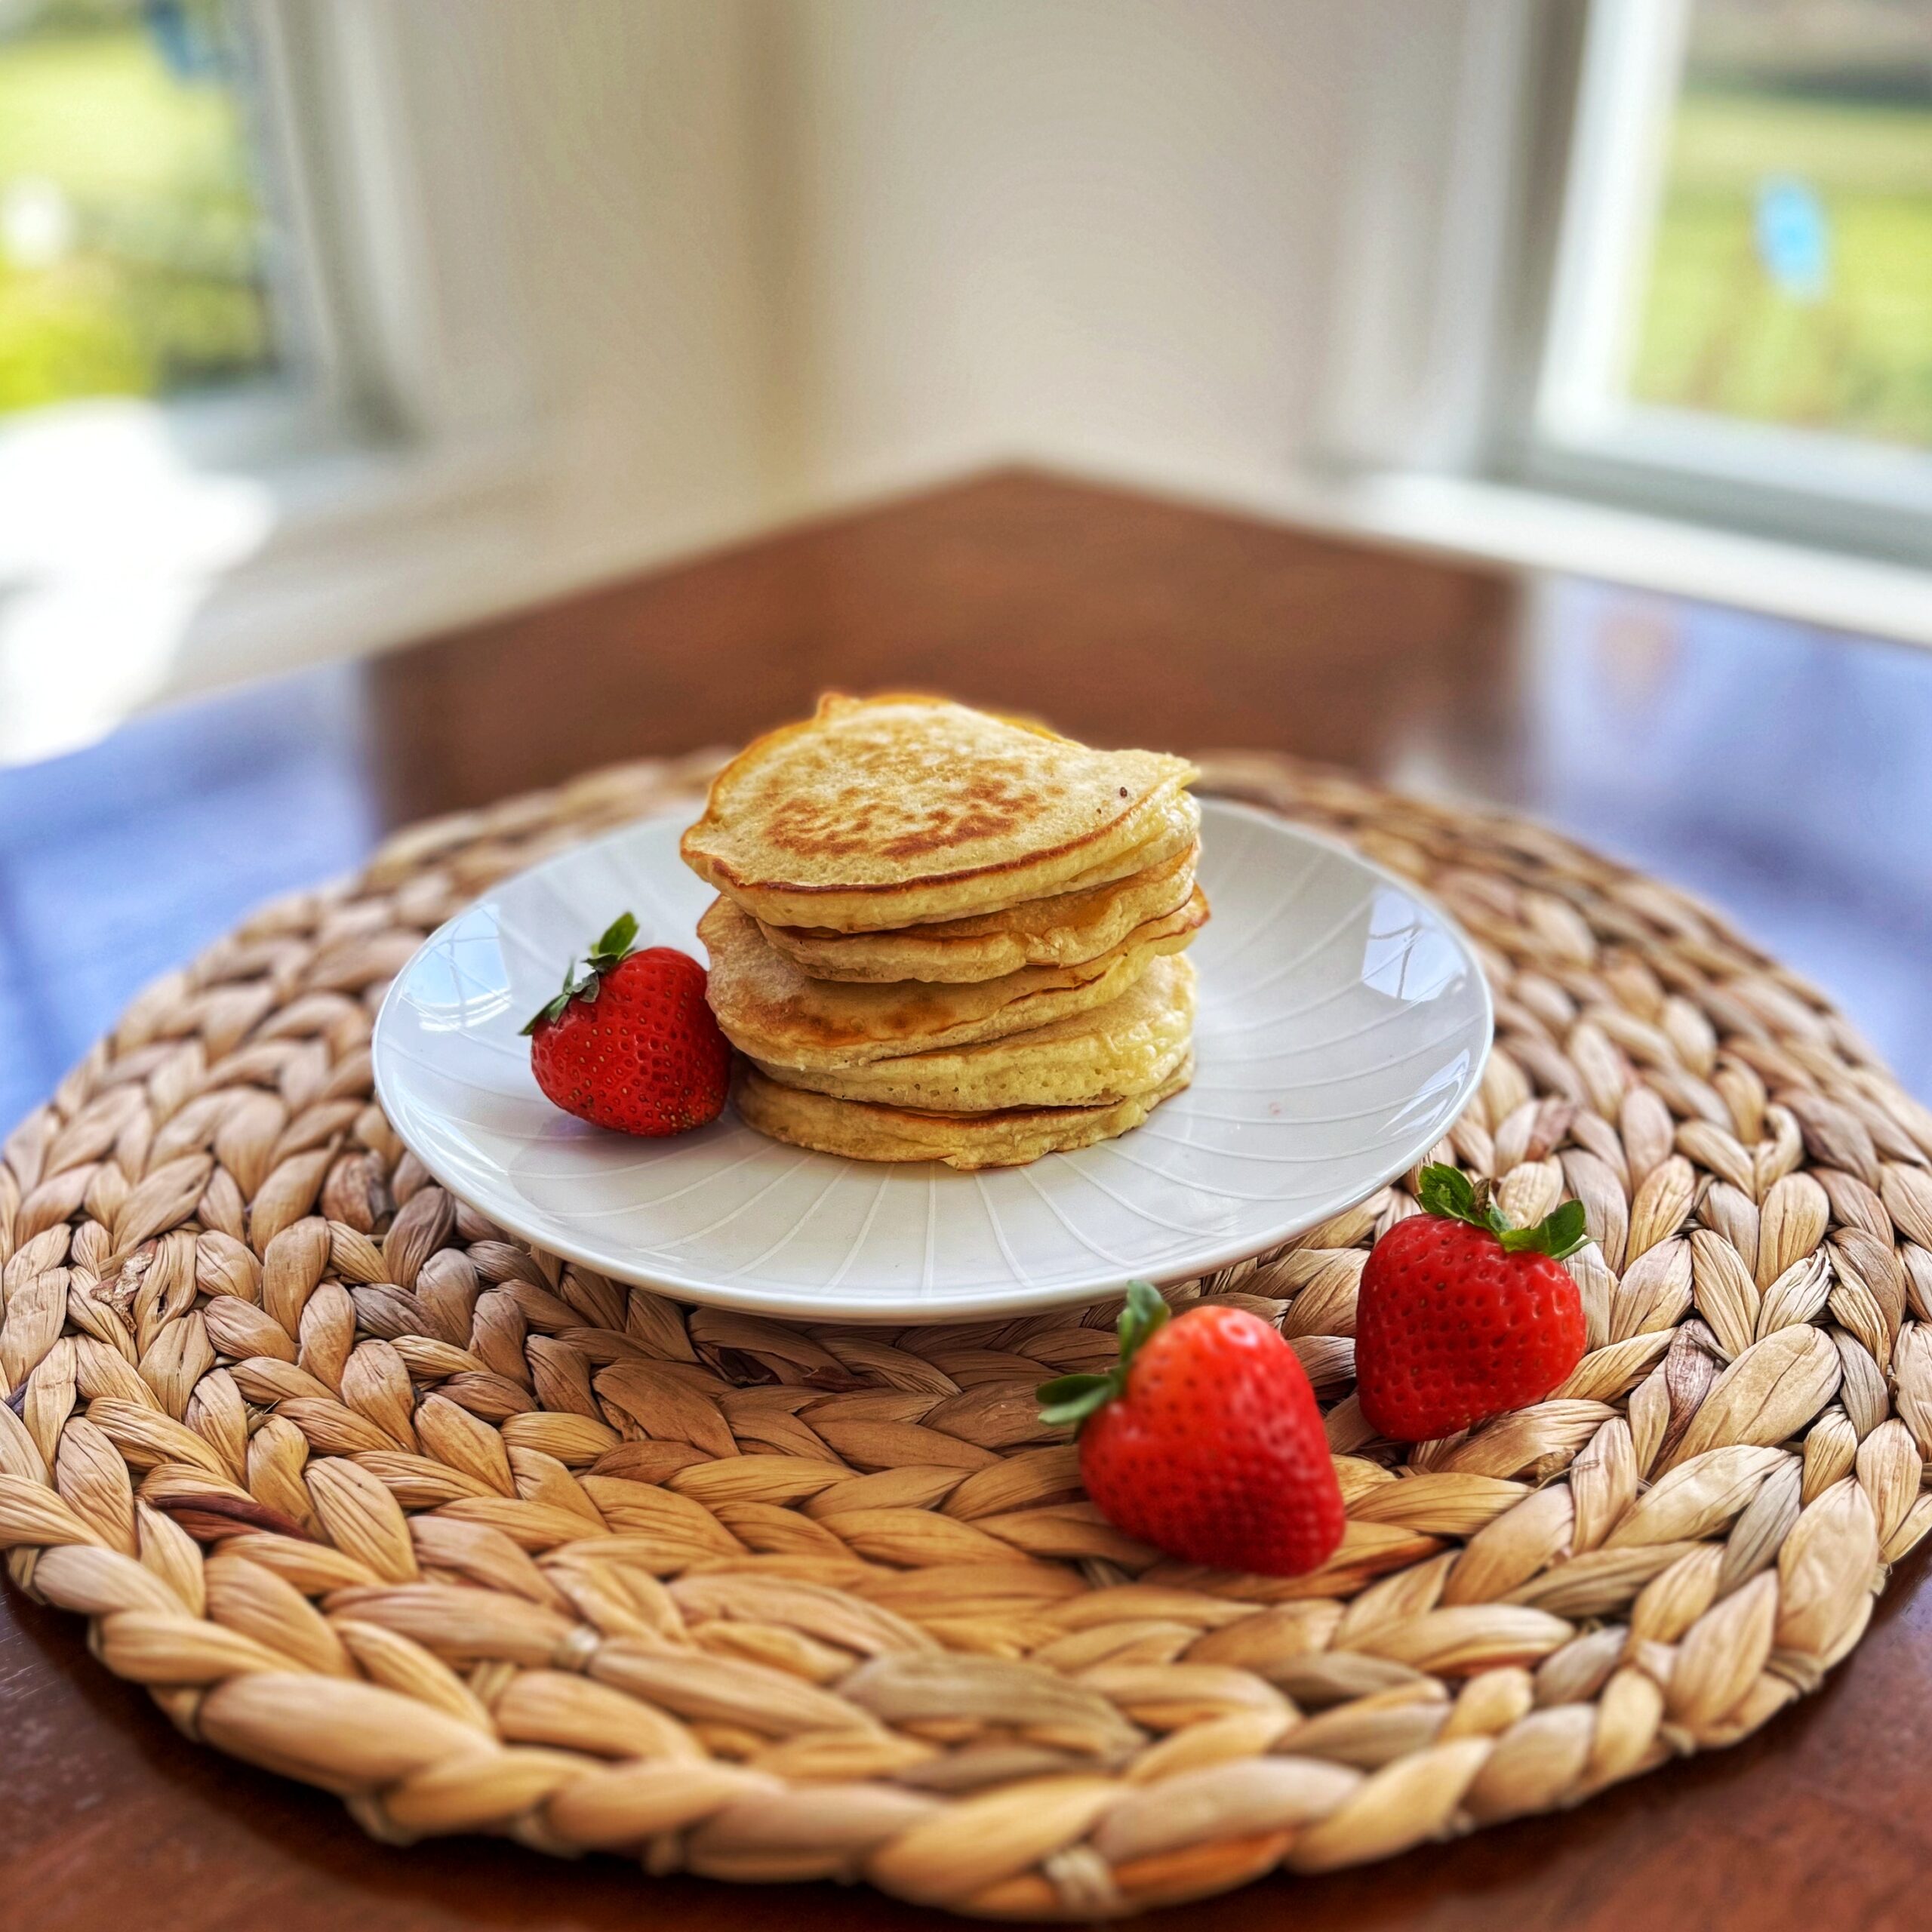
Once you make these pancakes, you’ll never go back to the boxed stuff again. In fact, the boxed stuff is seriously taboo in my house at this point. You also don’t need anything special to whip up a batch, in fact you probably have everything you need already in your pantry! If not, everything is readily available at your local grocery store.
A Few Helpful Hints!
- Most importantly – DON’T OVERMIX! Mix by hand using a whisk or a large fork. Mix only until it’s all combined and no more. Use a fork to break up any large clumps. Don’t use a stand mixer or a hand mixer or you’ll end up with flat rubbery cakes! The mixture should be slightly lumpy but lumps should be smaller than a pea.
- Don’t skimp on letting it stand! These need to stand for at least 15 minutes. 30 minutes is preferable! I usually mix the pancake batter before I do anything else and fry up my bacon while it stands.
- If this is your first time making pancakes don’t make them too big! 3-4″ diameter pancakes are easy to flip and you’ll have good success!
- Control your heat in the pan. You need to spend a little time to find the sweet heat spot to make the best pancakes ever. I cook mine in a cast iron skillet or a cast iron griddle. I usually preheat the pan and test the heat by adding butter to the pan. If the butter sizzles and foams but doesn’t turn brown then I know I’m good to go. No sizzle? Turn the heat up a bit. Brown butter? Turn it down.
If you want the greatest pancakes ever, then you need the greatest ingredients ever! Choose a high quality All Purpose Bleached Flour. You can use unbleached but it’s very unforgiving especially if you are new to cooking, even the slightest overmix will result in flat rubbery pancakes. Go with the bleached. I also recommend going with a high quality pure vanilla extract. Any old vanilla will work but a good pure vanilla extract just adds a level of flavor that I love. Although we usually cook and bake with unsalted butter, this is one recipe where I always use salted because I think they taste better that way, but you can use either depending on your tastes. Last but not least let’s talk about milk! Whole Milk is the way to go! Period. End Paragraph. Just kidding, you can use whatever you have in the fridge of course but they really are the best if use whole milk.
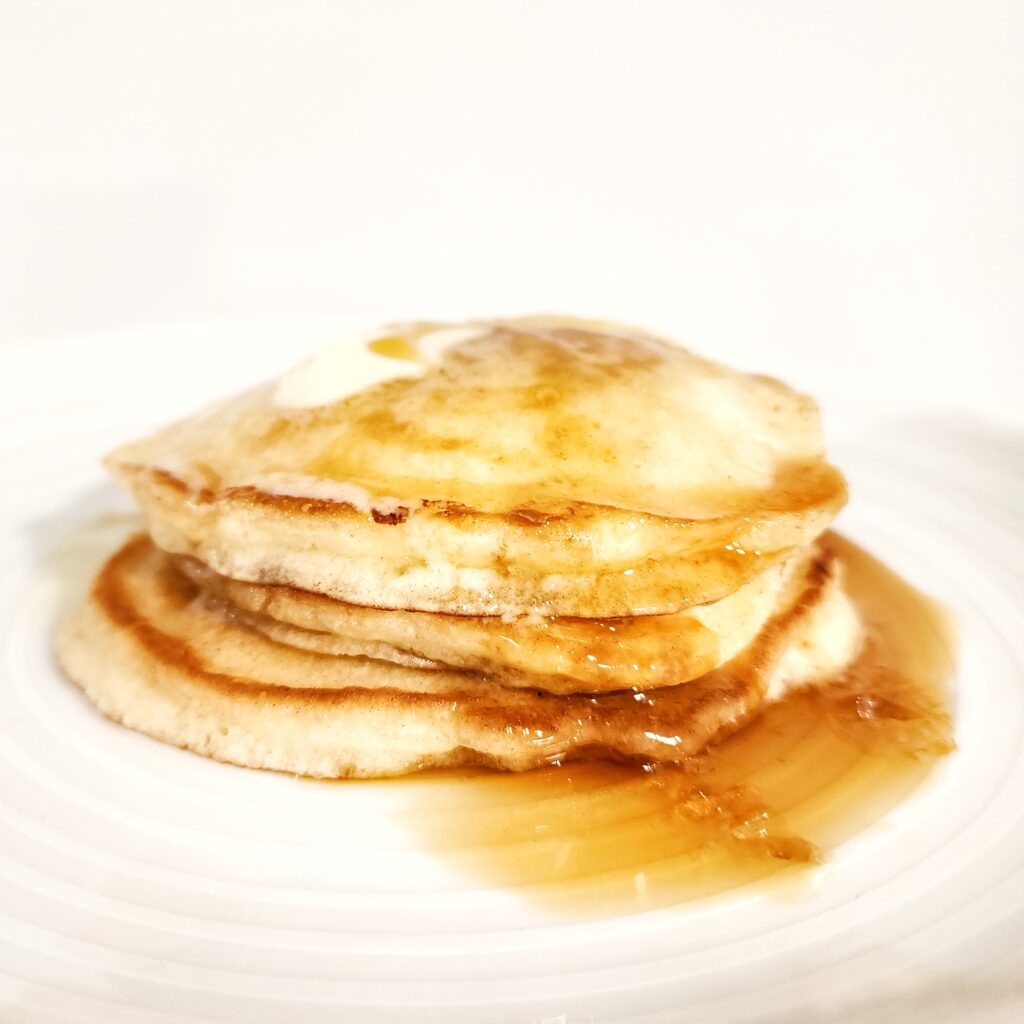
I hope this recipe brings as much happiness to you and your loved ones as it has to mine. Hopefully it’s an easy win for you in the kitchen, but if you do happen to mess up somehow, don’t fret, they always taste good no matter how they look!
✅ Quick Tips: Read the recipe in its entirety before you start cooking. This will help you understand the ingredients, steps, and timing involved, and allow you to prepare any necessary equipment or ingredients beforehand.
Dad’s Best Pancakes Ever
Description
Dad's Greatest Pancakes Ever
Ingredients
Dry Ingredients
Wet Ingredients
Cooking Ingredients
Instructions
Dry Ingredient Instructions
-
Combine all dry ingredients into a large sturdy mixing bowl and whisk together. Set aside.

Wet Ingredient Instructions
-
Crack 2 eggs into a medium bowl and whisk thoroughly with a fork and set aside. Melt 6 tablespoons of salted butter in the microwave or a small sauce pan and set aside. Add 1 cup of whole milk, 1 cup of buttermilk and the vanilla extract to eggs and mix thoroughly. Add the melted butter and mix thoroughly.

Combine Wet and Dry Ingredients Instructions
-
Slowly pour combined wet ingredients into the bowl containing the dry ingredients. Mix by hand with a large whisk, breaking up clumps of flour as you go. Mix slowly and only until all ingredients are combined. Batter should still be slightly lumpy but all lumps should be smaller than a pea. If you see any large lumps break them up against the side of the bowl with a fork. DON'T OVERMIX! Let batter stand for at least 15 minutes before cooking.

Cooking Instructions
-
Heat pan on low-medium heat and test with a small pad of butter. Butter should sizzle and foam but not turn brown immediately. Adjust heat if necessary. Once desired temperature is reached and 1 tablespoon of butter to pan and swirl to coat. Add 2-3 tablespoons of batter per pancake to pan and cook until bottom is lightly browned and bubbles begin to form on top. Flip pancakes and cook until bottom is lightly browned and batter is solid. You can poke a small hole in the top of the pancake if you're unsure to see if the batter is fully cooked. Add butter to pan in between batches as necessary.


User Reviews